|
One of the most frequent questions I see in various Facebook Groups for teachers of multilingual learners and in my own teacher membership is this: How do I teach multiple proficiency levels in my classroom?
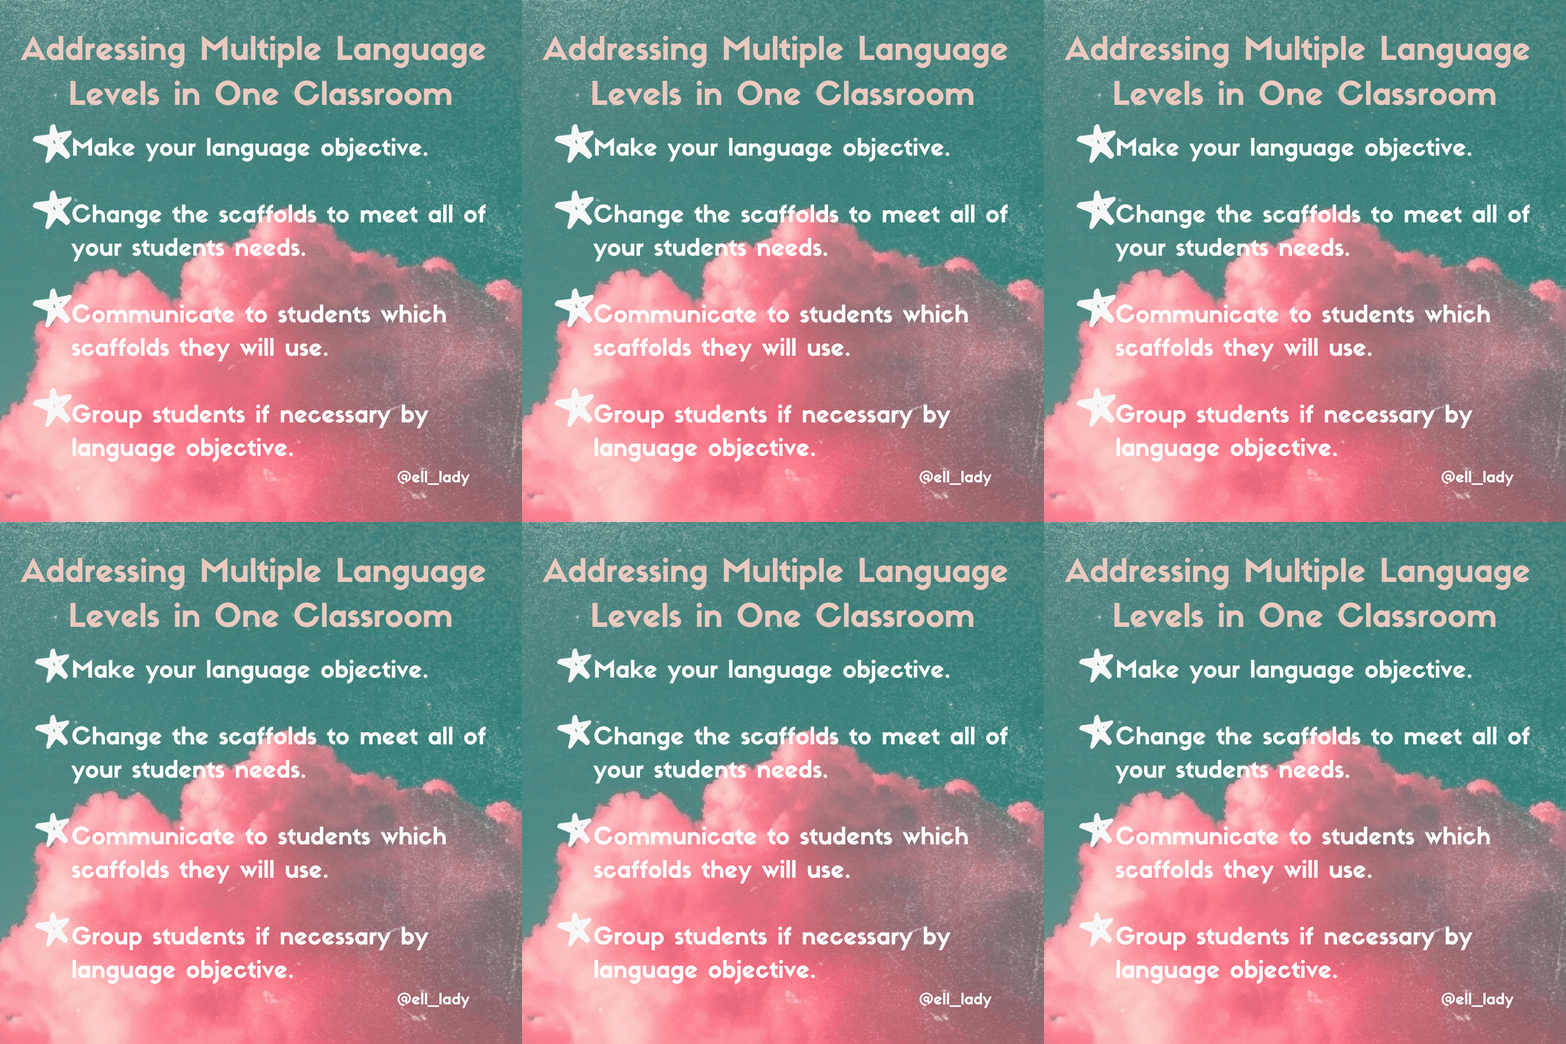
In most of my teaching career in high school, our classes were grouped by proficiency level, not grade level. For the most part, I could use one language objective along with my content objective. But if you do have a class with more than one proficiency level, the language objective is where you want to start. The magic is in the language objective! This is what I always taught to my content teachers when they needed help serving their different language learners in their classes. If you aren't so sure on how to make language objectives, head to this blog post to brush up and then come back. So where exactly is the magic? It's in the scaffolds. Students at different language proficiency levels should have different scaffolds to meet their unique language needs. For example, a more advanced language learner probably won't need simple language frames and a word bank; they may need just a sentence starter that sets them up for a more complex sentence. For some scaffolding guidance, check out this scaffolding resource. Here's how we can change our language objective with a newcomer versus an advanced level student, or a bridging learner: Newcomer: I can write an objective summary using a word bank and sentence frames with L1 support. Advanced/Bridging: I can write an objective summary with a sentence starter. What do you notice about these two objectives? I notice that the beginning part of the sentence is the same and the second part is different. The second part is the scaffolds! What does this look like in the classroom? When posting and reading your objectives to students, it's okay to point out that some students may need the newcomer supports, and some might need the advanced supports. Explain that language learning is different for everyone; we are all at different stages in the process of learning English. Here is what I might say to some of my students: Yesicca, you are going to use the newcomer supports and Omar, you are using the advanced supports. Yesicca, our goal is to get to the advanced supports, but right now we are using these temporarily. Omar, your goal is to use 0 supports, but even native English speakers need supports sometimes and that is okay! So, post the different language objectives and communicate those. Maybe you want to separate students into small groups by what language objective you are using for each if you have a larger classroom. Then at the end, review the objectives and have students assess how they did with them. Let's recap: 1. Make your language objective. 2. Change the scaffolds to meet all of your students needs. 3. Communicate to students which scaffolds they will use. 4. Group students if necessary by the language objective they will use. 5. Have students review the language objectives at the end to assess how they did. This is just one simple way to help alleviate some overwhelm and confusion when you have multiple language levels in one class. Your language objective is your student's road map to proficiency, so use it intentionally! Happy LO-making, teacher friends!
0 Comments
Leave a Reply. |
AuthorI support middle and high school teachers through monthly lesson plans, coaching, and guest speaker offerings in our Secondary ESL Teacher Membership. Archives
April 2023
Categories
All
|


 RSS Feed
